It’s the second tutorial of the year and the first garment of our capsule! Are you excited? Because we are!
It’s been fun seeing your projects through Instagram and DM’s. We are really proud of each one of you! It may not be easy for some of you, so if you are struggling, take it easy. You don’t have to finish the project in one day, by dedicating 10 minutes a day is enough.♡
This month we’ll be making a summer cardigan that can also be a wrapping top. It will be a little more challenging than the scrunchie or hair scarf, but it is almost impossible to fail. That’s why it is our first garment.


Let’s get started!

What do I need?
-A sweatshirt of your size.
-Fabric of your choice (lightweight, draping fabrics work best.)
-Scissors.
-Tread of the same color as your fabric.
-Measuring tape or ruler.
-Pencil or chalk.
-A sewing machine or a needle.
*If you don’t know where to get all the supplies you need, we have an option for you. Click here to check MadamSew’s online shop. This includes an affiliate link, which means we receive a commission at no extra cost to you.
Fabric suggestions: Lightweight wovens like gauze, crepe, silk, linen, or cotton look beautifully. But you can use lightweight knits like jersey or even rib.
How much fabric do I need?
Short Cardigan: 1 1/2 yds (1.40 m)
Long Cardigan: 2 yds (1.80 m)
Should my sweatshirt be oversized or should it fit just right?
Let’s say your sweatshirt is your pattern. If you want a very flowy, baggy cardigan, use an oversized one. If you want to use it as a top, then choose a sweatshirt that fits you right.

I used a sweatshirt that isn’t too tight, but not exactly oversized. By following its shape, I ended with an average looking summer cardigan. The fit you want is up to you.
Some tips to make it more your style:
- Sporty: Use a more rigid fabric. Hip length and oversized.
- Natural: Average fit, soft lightweight fabric. Linen and gauze can work perfectly.
- Classic: Rigid fabric or thick knit with no prints. Average fit & long sleeves. You can wear it with a belt.
- Preppy: Thick fabric, tight fit. Lenght below the hip.
- Vintage: Rigid fabric or thick knit. Average fit & long sleeves. You can wear it with a belt as if it was a coat.
- Romantic: Lightweight fabrics like gauze are perfect. Transparencies and lace can make it look more delicate.
- Bohemian: Lightweight fabric with a print. Very flowy and it can have a length below the knee.
- Creative: You can choose whatever works with your wardrobe. Long or short, prints or plain colors. Have fun!
- Urban: Thick fabric. Flowy or tight it will look good with your style.

*If you are sewing this by hand, I really recommend you to make your cardigan shorter.
Remember these are only tips and you can do whatever your heart wants!♡
STEP 1
Measure the length of your cardigan and write it down somewhere.
You can do this by simply measuring from your shoulder to your desired length. I used my favorite cardigan as a guide because I like how long it is.

Step 2
Place your sweatshirt over your fabric, like this:
*Make sure to leave enough space to the sides for the sleeves.

You want it to have almost a rectangle or square shape.
*You can trace the contour of it, don’t worry if it isn’t perfect. This step is just in case your sweatshirt moves, so you can know where it was. It is optional right now, but we’re going to trace it later anyway.

Step 3
Then you are going to mark where the half of each shoulder is. Do it on both sides and do not move your sweatshirt, yet. It should stay there until we finish tracing. *Except if you already traced the contour.

Step 4
From this mark, you will apply your length measure in a straight line on both sides.


Step 5
Make a straight line on the bottom, joining the marks you just made, and bring it up to your sweatshirt’s shoulder. If you haven’t traced it, now is the time.

Step 6
Now, you need to have a clear idea of how flowy or tight you want your summer cardigan to be. In my case, I want it to be average, not so flowy, or too tight. Because of this, I added 1.5 inches to each side.

This really depends on what you want, but here are some suggestions in case you have no clue how to work this out:
If you’re using a tight sweatshirt:
- Flowy and loose cardigan: add +3 inch.
- Regular fit: +2 inch
- Tight cardigan: +1 inch.
If you’re using a regular fit sweatshirt (not oversized, but not too tight):
- Flowy and loose cardigan: add +2.5 inch.
- Regular fit: +1.5 inch
- Tight cardigan: +.5 inch
If you’re using an oversized sweatshirt:
- Flowy and loose cardigan: add +.5 inch
- Regular fit: Don’t add anything.
- Tight cardigan: This sweatshirt won’t work for that. You can rather choose a sweater or a long sleeve t-shirt.
Step 6
Now, we’re going to extend the sleeves to the sides. On this part, you can choose how long you want the sleeves to be, or if you don’t want it to have sleeves, you can skip this step.

I wanted my sleeves to be over my elbow, so I folded the sleeves of my sweatshirt as a guide.
Make sure to measure the exact length on both sizes.


Don’t forget to trace the sleeves contour.
Step 7
Add +1 inch to the lower side of your sleeves and +1/2 inch to the shoulders and neckline. This is for the seams.
Once done, you will end up with a back contour that looks like this:

You can cut it now.


It will look something like this.
Step 8
For the 2 front sides, you will use your backside as a pattern. This is the easiest part.
Take your backside and fold it in half. Then put it over your fabric.

Next, you’re going to take the side of the neck and fold it to the inside. There is no exact measure, you just want to create a straight line.


You can pin it, so it doesn’t move.

Once done, you will add +12 inches to the side, but just on the bottom.
If you want a more classic style, just add +4 or +5. If you want to be able to knot it and use it as a top, then make sure to add the whole +12 inches.

As I cut my fabric, a triangle was formed, so I used it to save fabric. If yours doesn’t look like this, it’s alright, but try to find a way where you don’t waste a lot.
Pd: keep your fabric waste until the end of the challenge because we have an extra surprise project where we’ll use them!
Next, with a ruler, or if you’re feeling adventurous, freehand like I did, trace a line from that corner with the +12 inches to your pattern. This doesn’t have to be super straight or perfect, it won’t be noticeable. But, if you’re a perfectionist, feel free to make a perfect straight line.

Finally, just add +1/2 inch to that line you just traced for the seams.

Cut it. (As you can see, mine isn’t perfect, so don’t worry too much about perfection.)

Step 9
For the other side, we are just going to mirror the front side you just cut to your fabric. The front sides of the fabric must be facing each other, especially if you’re working with printed fabrics.
For this, you must flip your piece so both front sides of the fabric are over each other.

Once done, you’re going to end up with 2 pieces and it’s time to start sewing!
LET’S SEW!
When it comes to sewing, a summer cardigan is one of the easiest items for beginners. It’s all about straight lines and nothing too complex.
Step 1
To start, you must place one front side over the backside, with the front sides of the fabric facing each other again.

Then, you will sew the shoulders in a straight line.

Repeat the same process with the other side.

Step 2
Now, we’re going to join the sides of the cardigan together. In a straight seam only changing direction once we get to the armhole.

Make a little insition in the armhole to avoid creases.


Repeat the same with the other side.

*If you have an overlock machine or your machine has a zig-zag stitch, you can use it on the ends of your seams so they last longer.
Step 3
Let’s make a hem on the sleeves, now.
Fold your sleeves to the inside of the cardigan, like this:

Then, you’re going to fold it one more time:

And then, you’re just going to sew it like that.

Done! Do it on both sides.
Step 4
We’re going to finish with a hem on the neckline.

Let’s repeat the process that we made for the sleeves’ hem.


Step 5
And, the final step is to make a hem on the bottom of your summer cardigan! Same process as the previous ones.
Your corners will probably look like this:

To make it pretty, we’re going to fold them to the inside. Like this:

And then we make the hem. Just like we did before.

And you’re going to sew from corner to corner.
That’s it! If you’re hem looks like this, you can iron it and it will look better!

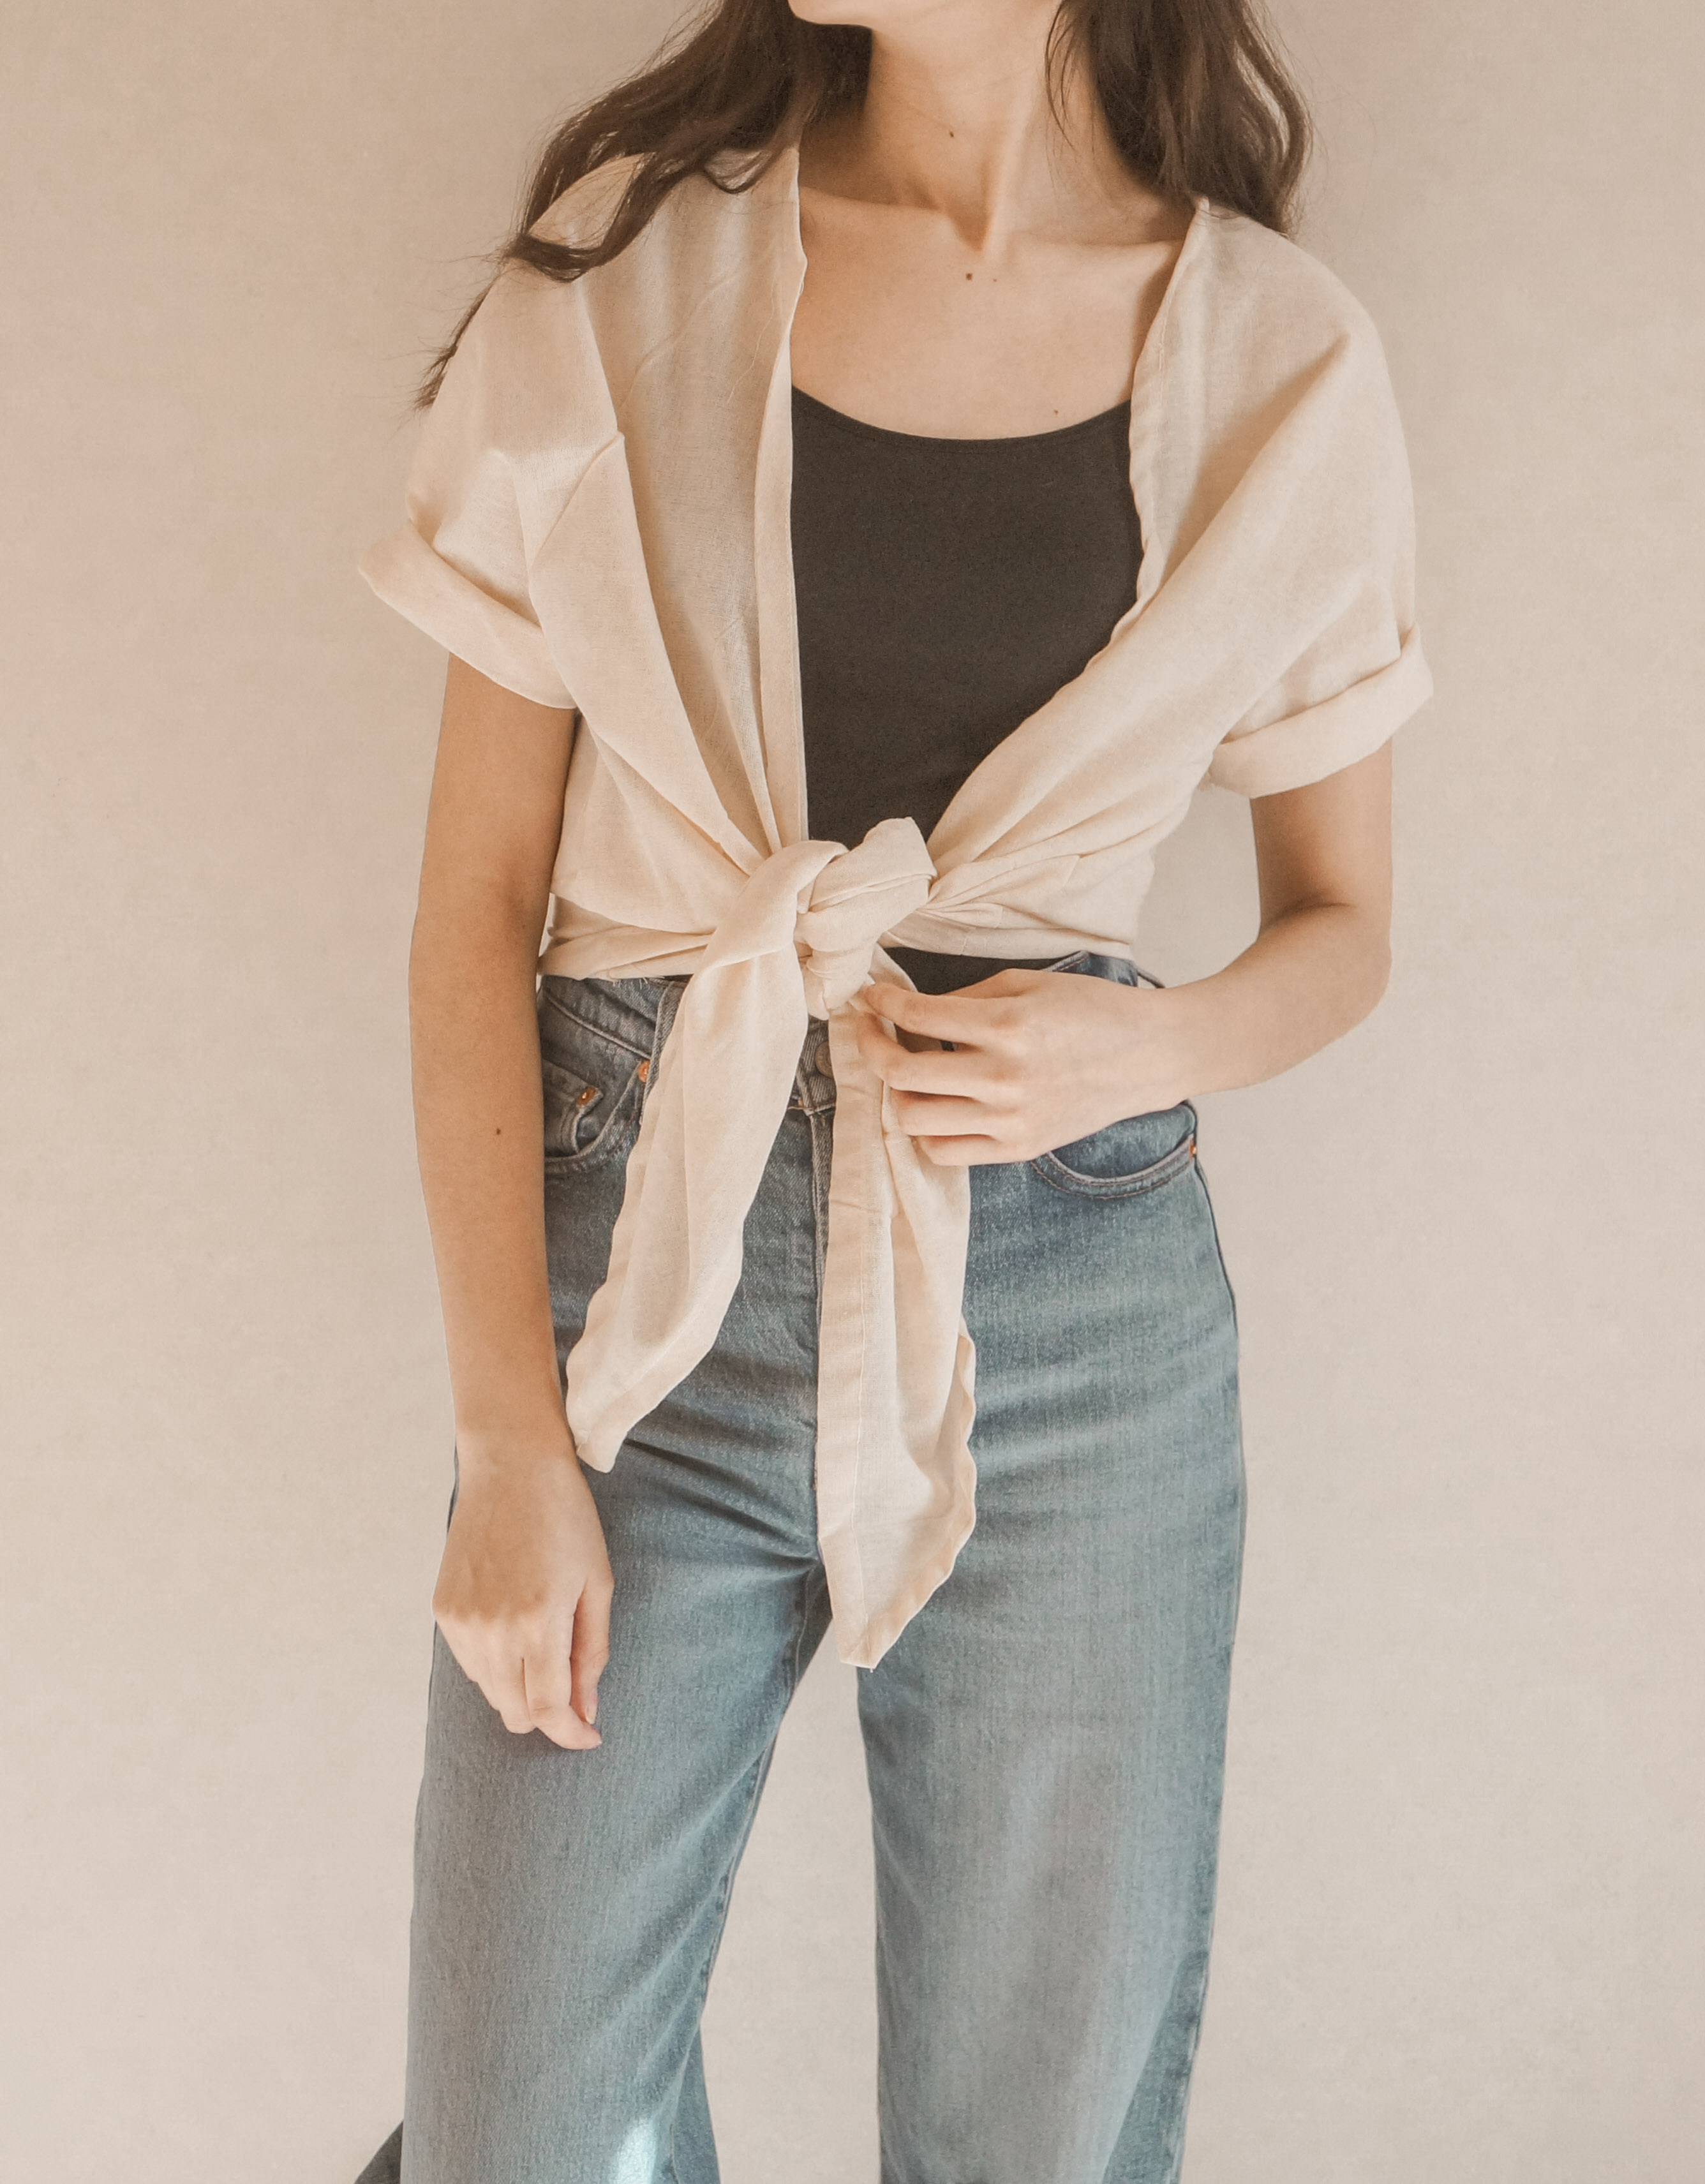
What do you think? There are 3 different ways to wear this summer cardigan, how will you wear it?
I honestly love it backward as a top or over a tank top knot! Even if I don’t usually include this type of cardigan in my personal style, this is one item I’ll be loving this year.
And, this is another style of summer cardigan, it’s shorter and made with knit jersey fabric. It was a bit harder to sew because of the fabric type but you can see that it looks different than the first one you saw. This photos are to show you how much a fabric can change the look of a garment, to show you that you can personalize it as you wish.


Don’t forget to tag us on your Instagram posts or send us your DM’s to show us your results! We really love seeing your work!
For doubts and questions, you can email us, DM us on Instagram or leave a comment below! We’ll meet next month for one of the most exciting projects: wrapping pants!
All the love, your friends
Lucy & Dani
Our Fashion Garden.
Leave a Reply